
Dispensor Overview
Food dispensor units are obtained through 3D-Printer files.
Part numbers follow the following notations:
- GC = Gallon Can
- GFD = Granular Foods Dispensor
- PD = Powder Dispenser
- 28BYJ = Uses the 28BYJ Stepper Motor
- FBD = Full Bottom Drop Model
- ??MM = Maximum Canister Diameter that can be used
Stepper Motors used in Dispensors can be purchased via:
Powder Foods Dispensor (Part: PD-FBD-28BYJ-86MM)
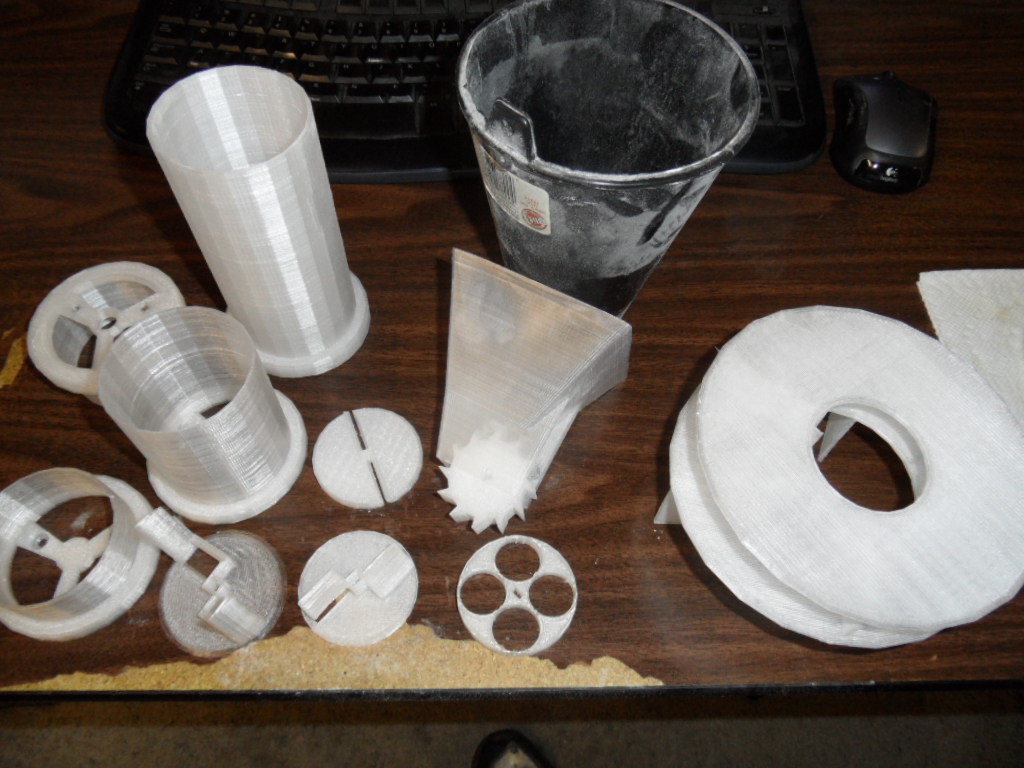
The PD-FBD-28BYJ-86MM food dispenser is capable of handling granular or powdered dry foods. This dispensor uses an 86mm Diameter Tin Can like Hunts Pasta Sauce, Cambells Family Size Soup or any others that measure 86mm. This model will be used for the first release; the ArdiChef-100.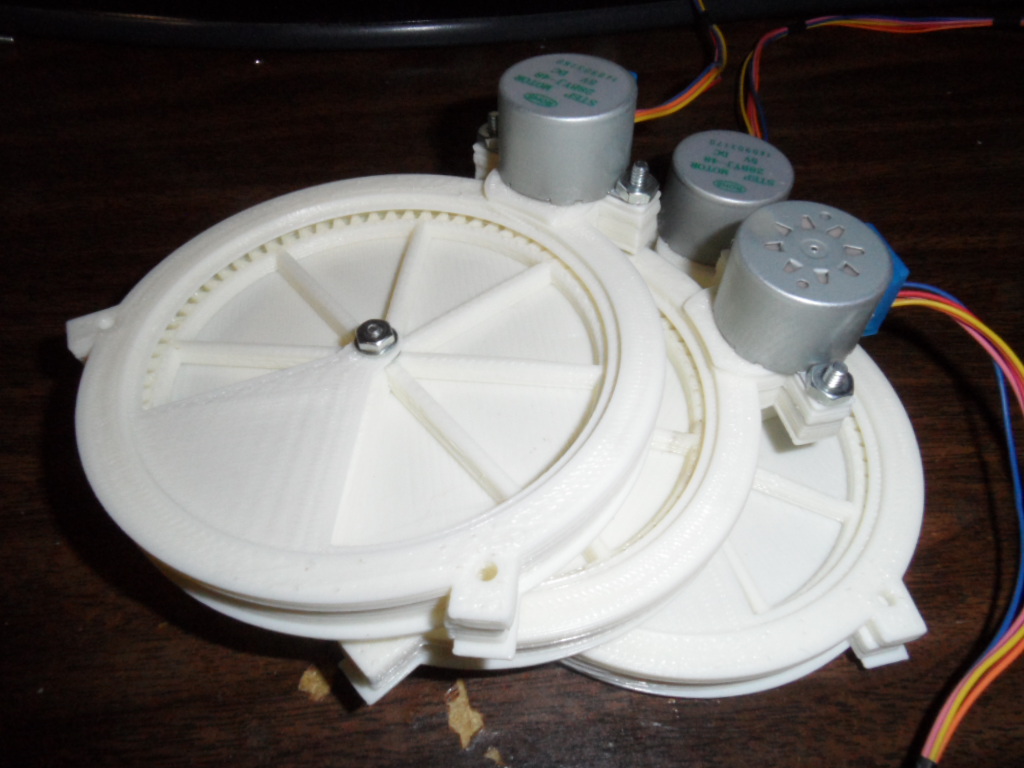
Granular Foods Dispensor (Part: GC-GFD-28BYJ)
Granular foods like sugars and spices can be dispensed using what I'd call the Gumball approach. A circular plate with holes in it rotating to a covered drop-hole. The dispenser is very simple and might be used for spices and such. However it is believed a better model can be made in the future.
| File-Name | Build Instructions |
|---|---|
|
MotorMount.skp (SketchUp 2014) | 1) The 28BYJ Stepper motor is bolted into this motor mount (Shaft up) |
|
DispGear_4inHoles.skp (SketchUp 2014) DispGear_4inHoles.stl | 2) The Disp (IE. Dispense) gear is placed on the motor shaft |
|
GallonCanBase_6pt125inchBase.skp (SketchUp 2014) |
3) The “MotorMount/Stepper/DispGear” assembly is then
bolted to the CanBase 4) The Assembly is then attached to the bottom of the One-Gallon tin can. |
Powder Foods Dispensor (Part: GC-PFD-28BYJ)
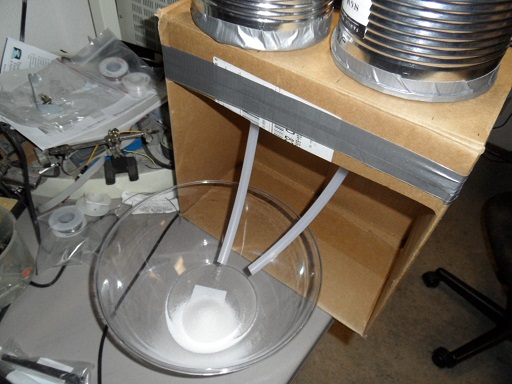
This powdered food dispensor works with a gallon of powdered dry foods. It scrapes the product from the top towards the center where it drops down the 'DispenserPipe'. This design has flaws such as the pipe growth under the dispensor, falling ingredients while reload and sometimes the 'DispenserPipe' getting stuck in position.
| Build Instructions | File-Name |
|---|---|
1) The 28BYJ Stepper motor is bolted into this motor mount gear box (Shaft up)
|
MotorMountGearBox.skp MotorMountGearBox.stl 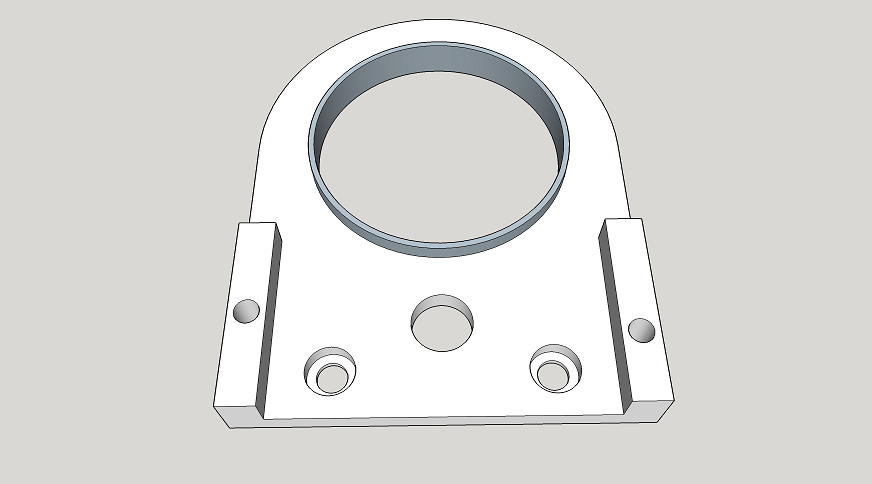
|
| 2) The MotorGear is placed on the motor shaft |
MotorGear.skp MotorGear.stl 
|
3) The PipeDriverGear is dropped freely into the MotorMountGearBox.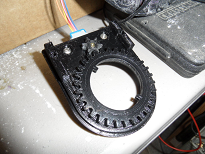
|
PipeDriverGear_24D.skp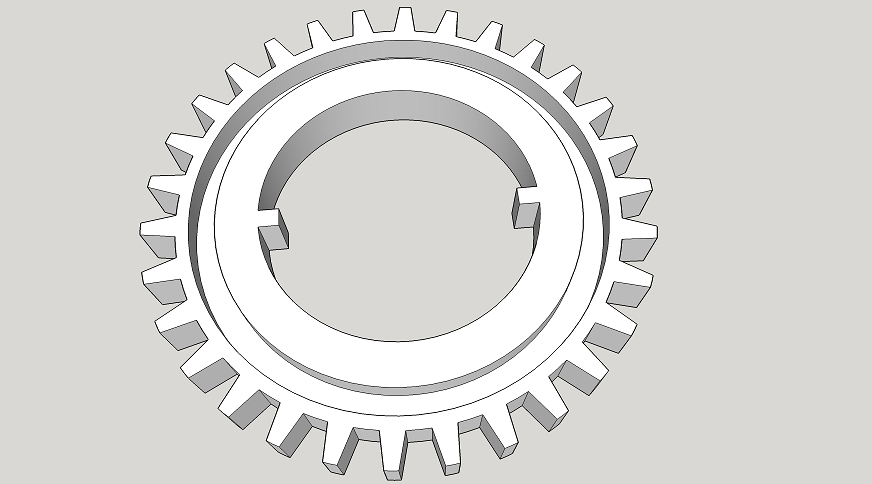
|
| 4) Print and set aside the 'DispensorPipe' used in step #6. |
DispenserPipe_24D_Complete.skp DispenserPipe_24D_Complete.stl 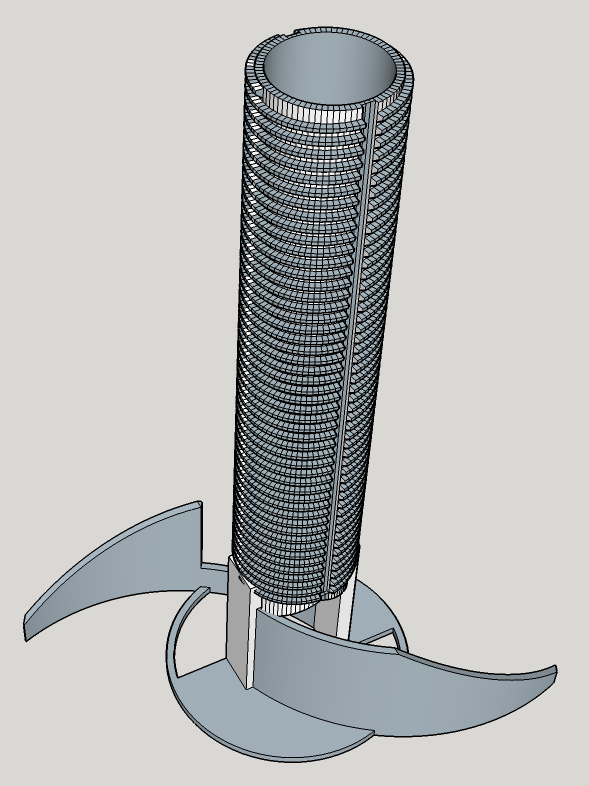
|
5) The MotorMountGearBox with PipeDriverGear and MotorGear Assembly is then bolted to the bottom of the CanBase.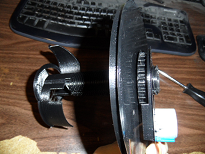
|
CanBase_24D_1Thread.skp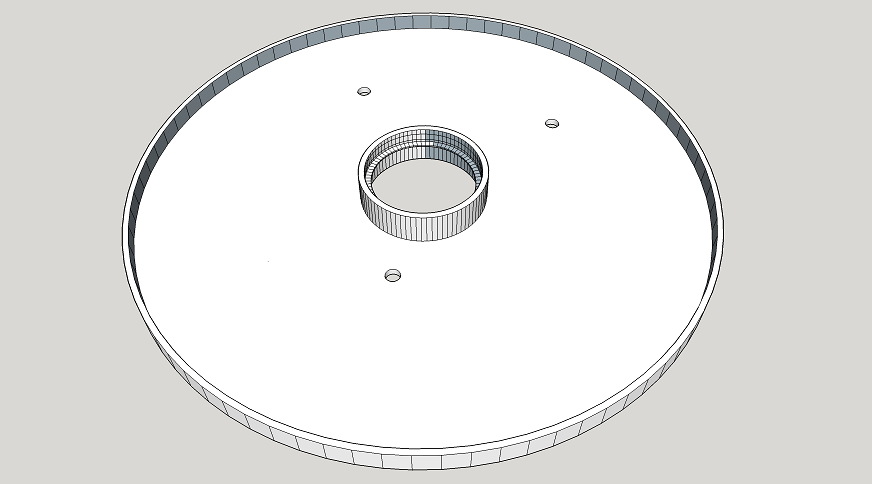
|
6) The 'DispensorPipe' is then Threaded Through the CanBase until its notches lock with the 'PipeDriverGear' notches.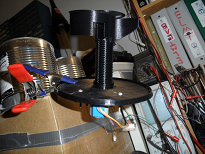
|
|
7) Attach a 1-Gallon Can to the top of the 'CanBase' assembly. The dispensor is now complete.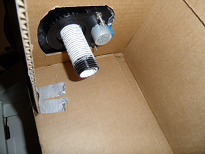
|
|